


Last winter I learned how to choose the right fabric, work a sewing machine and make my own, semi-packable bike pannier. This short piece is about how it went for me, what I learned, and what I’d do differently the next time.
Well, to begin with, the whole process went really well for me! I now have a functional and cool-looking piece of bike luggage that I made all by myself. I first saw the design for a 15-litre bike pannier at Prickly Gorse where Sean shares his love of making by producing lots of great patterns for folk to buy, or even try out for free!

My confidence in choosing the right fabric has also developed a lot thanks to Ben here at Six Moon Designs for the encouragement and some nice bright liner fabric. I also participated in a fair bit of nerding out on the Ripstopbytheroll website to order some 210D ROBIC® Ripstop Nylon.
Finding a pannier attachment system for my main bike rack did prove to be a little tricky as the clamp size is not that common. After one false start I did manage to order components that were the right size and a secure fit.
My project was of interest to some members of my family and one or two of my friends who also make, or repair their own gear. Their combined interest helped me a lot. I did not rush this project, in fact even once I’d got the sewing machine working, bought the pattern and received all my fabric progress was very slow. To be honest I think that I was a little scared of making that first cut of the fabric!

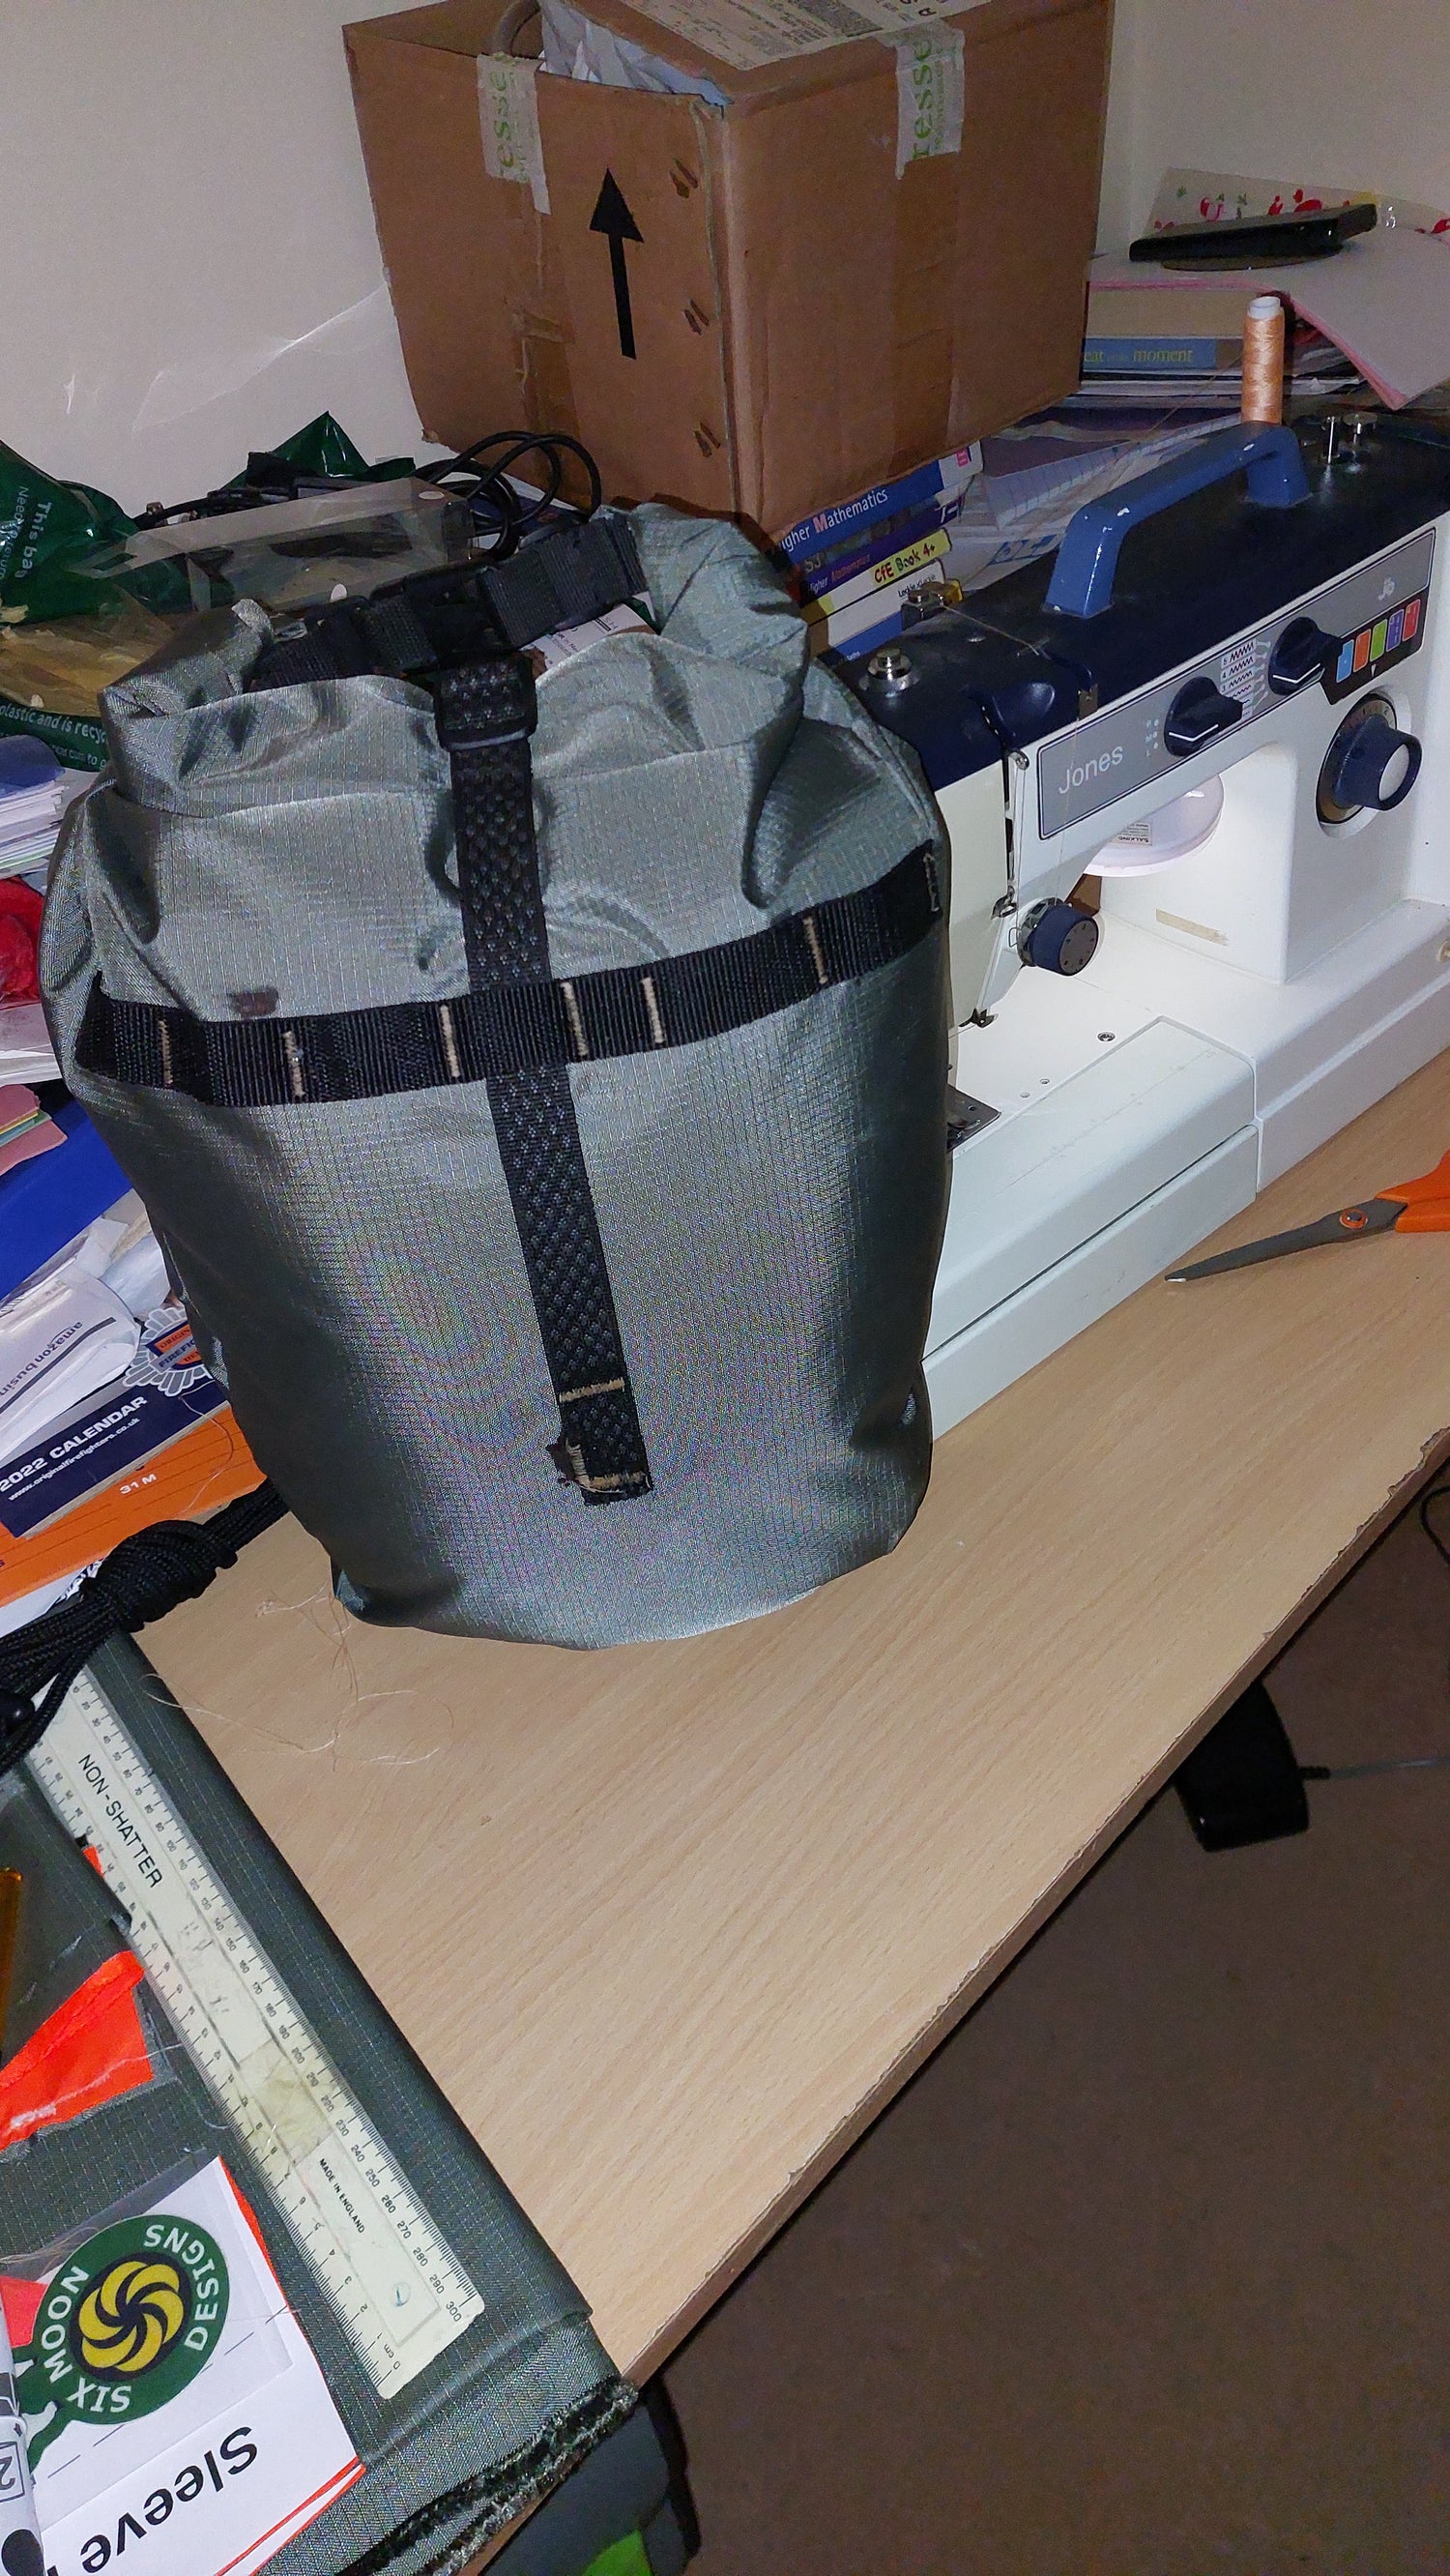
I should not have worried as once I pinned the paper pattern on, with help at lunchtimes from one of my pupils and then started to follow the instructions everything just fell into place. My confidence grew and grew. I had plenty of fabric and soon adopted the mindset that if I cut a piece too small I would sew more on, or if a part was too big I could cut it down. Once I had got my head around the way patterns have a ‘right’ side I started to visualize what my pannier might look like. It was a lot of fun changing the stitch settings on the machine from regular spaced to more complex bar tacking to set straps.
For the straps and roll top closure I just used some old backpack compression straps and belt. These worked perfectly and of course, didn’t cost me a penny! The orange liner and the grey outer fabric looked really cool, especially after I added a Six Moon Designs iron-on patch.

When not in use my pannier can be rolled up and strapped to one of the struts on my rear bike rack. I’ve tended to use it for carrying food with no problems at all. This summer a guest of mine on a guiding trip suggested that I include some sort of cool bag material inside to help keep some foods fresh. This was a great idea and something that I would definitely try to include in any future designs.
In summary, I would say to anyone who has spare time, the desire to learn a new skill, and $30 or $40 to give making your own bike pannier a go!

Leave a comment
This site is protected by hCaptcha and the hCaptcha Privacy Policy and Terms of Service apply.