Ultralight has gone mainstream. Blessedly, thankfully so. Thanks to modern ultralight gear, hikers can go farther and prevent wear-and-tear on their bodies. Ultralight for the masses has arrived. In general, hikers have taken two different paths to a lightweight pack: advanced materials, and the so-called ‘Dark Arts’.
The first path to a lighter pack involves constructing equipment out of space-age materials. In the past couple of decades, Dyneema Composite Fabric, X-Pac, titanium, and carbon fiber have become commonplace. Even though equipment may retain a traditional design, modern materials can make it lighter. Whereas cutting-edge materials were originally used to shave another couple ounces off already-barebones equipment, they’re now often used to construct fully-featured pieces of gear of still-acceptable weight, despite the extra bells and whistles.
The second path involves the so-called ‘Dark Arts’ of ultralight. Rather than simply constructing the same old equipment with new materials, hikers who venture down this path reduce the number, size, and complexity of the items in their packs. These are the toothbrush sawyers of old. They research conditions fastidiously. They train themselves to sleep in comfort on foam pads. To put a finer point on it, the Dark Arts of ultralight revolve around three conveniently alliterative principles:
- Minimalism: The easiest way to cut weight is to simply leave unneeded items at home, be it a cookpot, a battery bank, or the handle of your toothbrush.
- Multi-use: Items should be designed and deployed so as to serve double-duty. A trash compactor bag is both a pack liner and a convenient way to inflate your sleeping pad. That sleeping pad is both a mattress and the virtual frame of a frameless backpack. A puffy jacket serves as insulation during the day and a soft pillow at night.
- Modularity: Gear should work well as a system. A water filter should be replaceable without having to replace the bottle (looking at you, integrated filter systems!). Electronics should use the same connectors to avoid carrying multiple cords/adaptors. Every article of clothing should be layerable so you can wear it all at once in cold conditions.
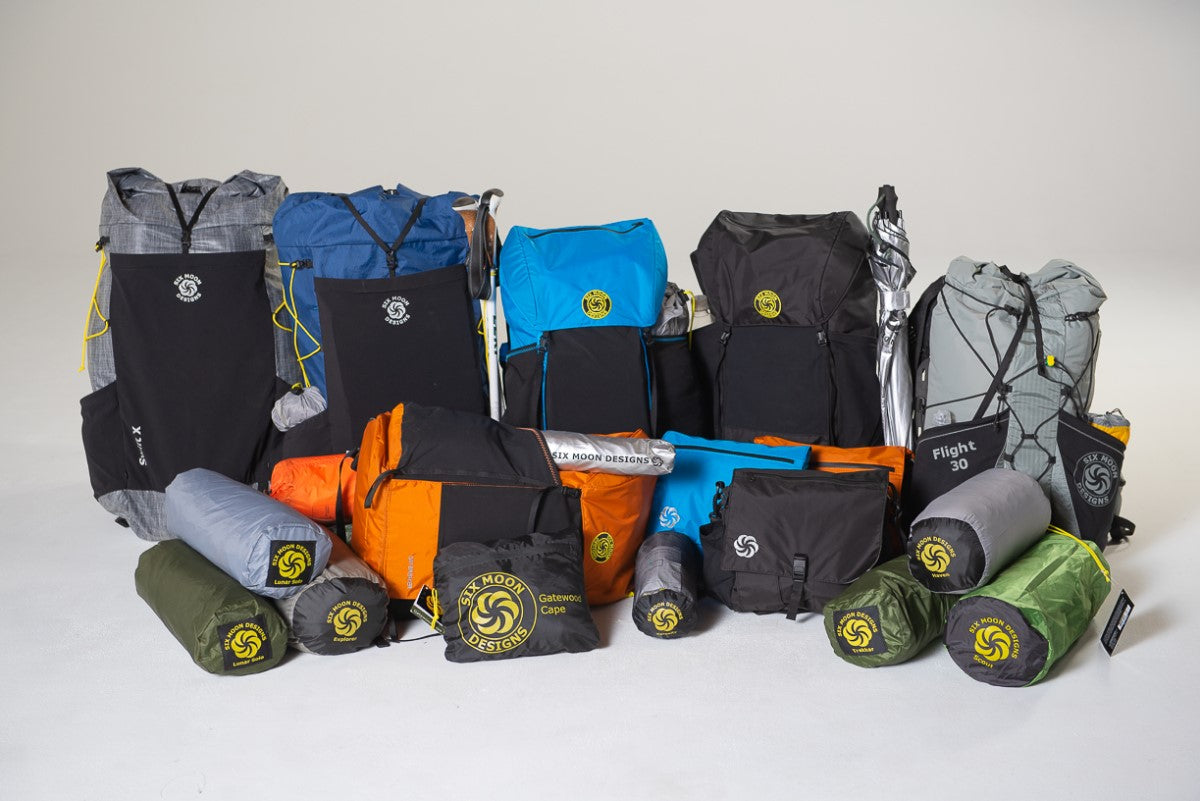
Standing squarely in this Dark Arts camp, the Six Moons Designs Gatewood Cape is defiantly, unapologetically old-school. It’s minimalist - nothing more than a scrap of silnylon. As a poncho-tarp, it’s the epitome of multi-use design. It’s modular - designed to nest with the Serenity net-tent when you need bug protection. At its core, the Cape is simply a well-designed, funky-looking piece of fabric with a few straps and tie-out points sewn to it. There’s nothing intrinsically magical about it. The magic happens when you use it. And make no mistake - it’s got a lot of uses! Use it as a shelter. Use it as raingear. Use it as a pillow, or a pack cover. Thru-hikers, please don’t use it as town clothing while everything else is in the laundry though; it’s not opaque enough for that!
Intended Use
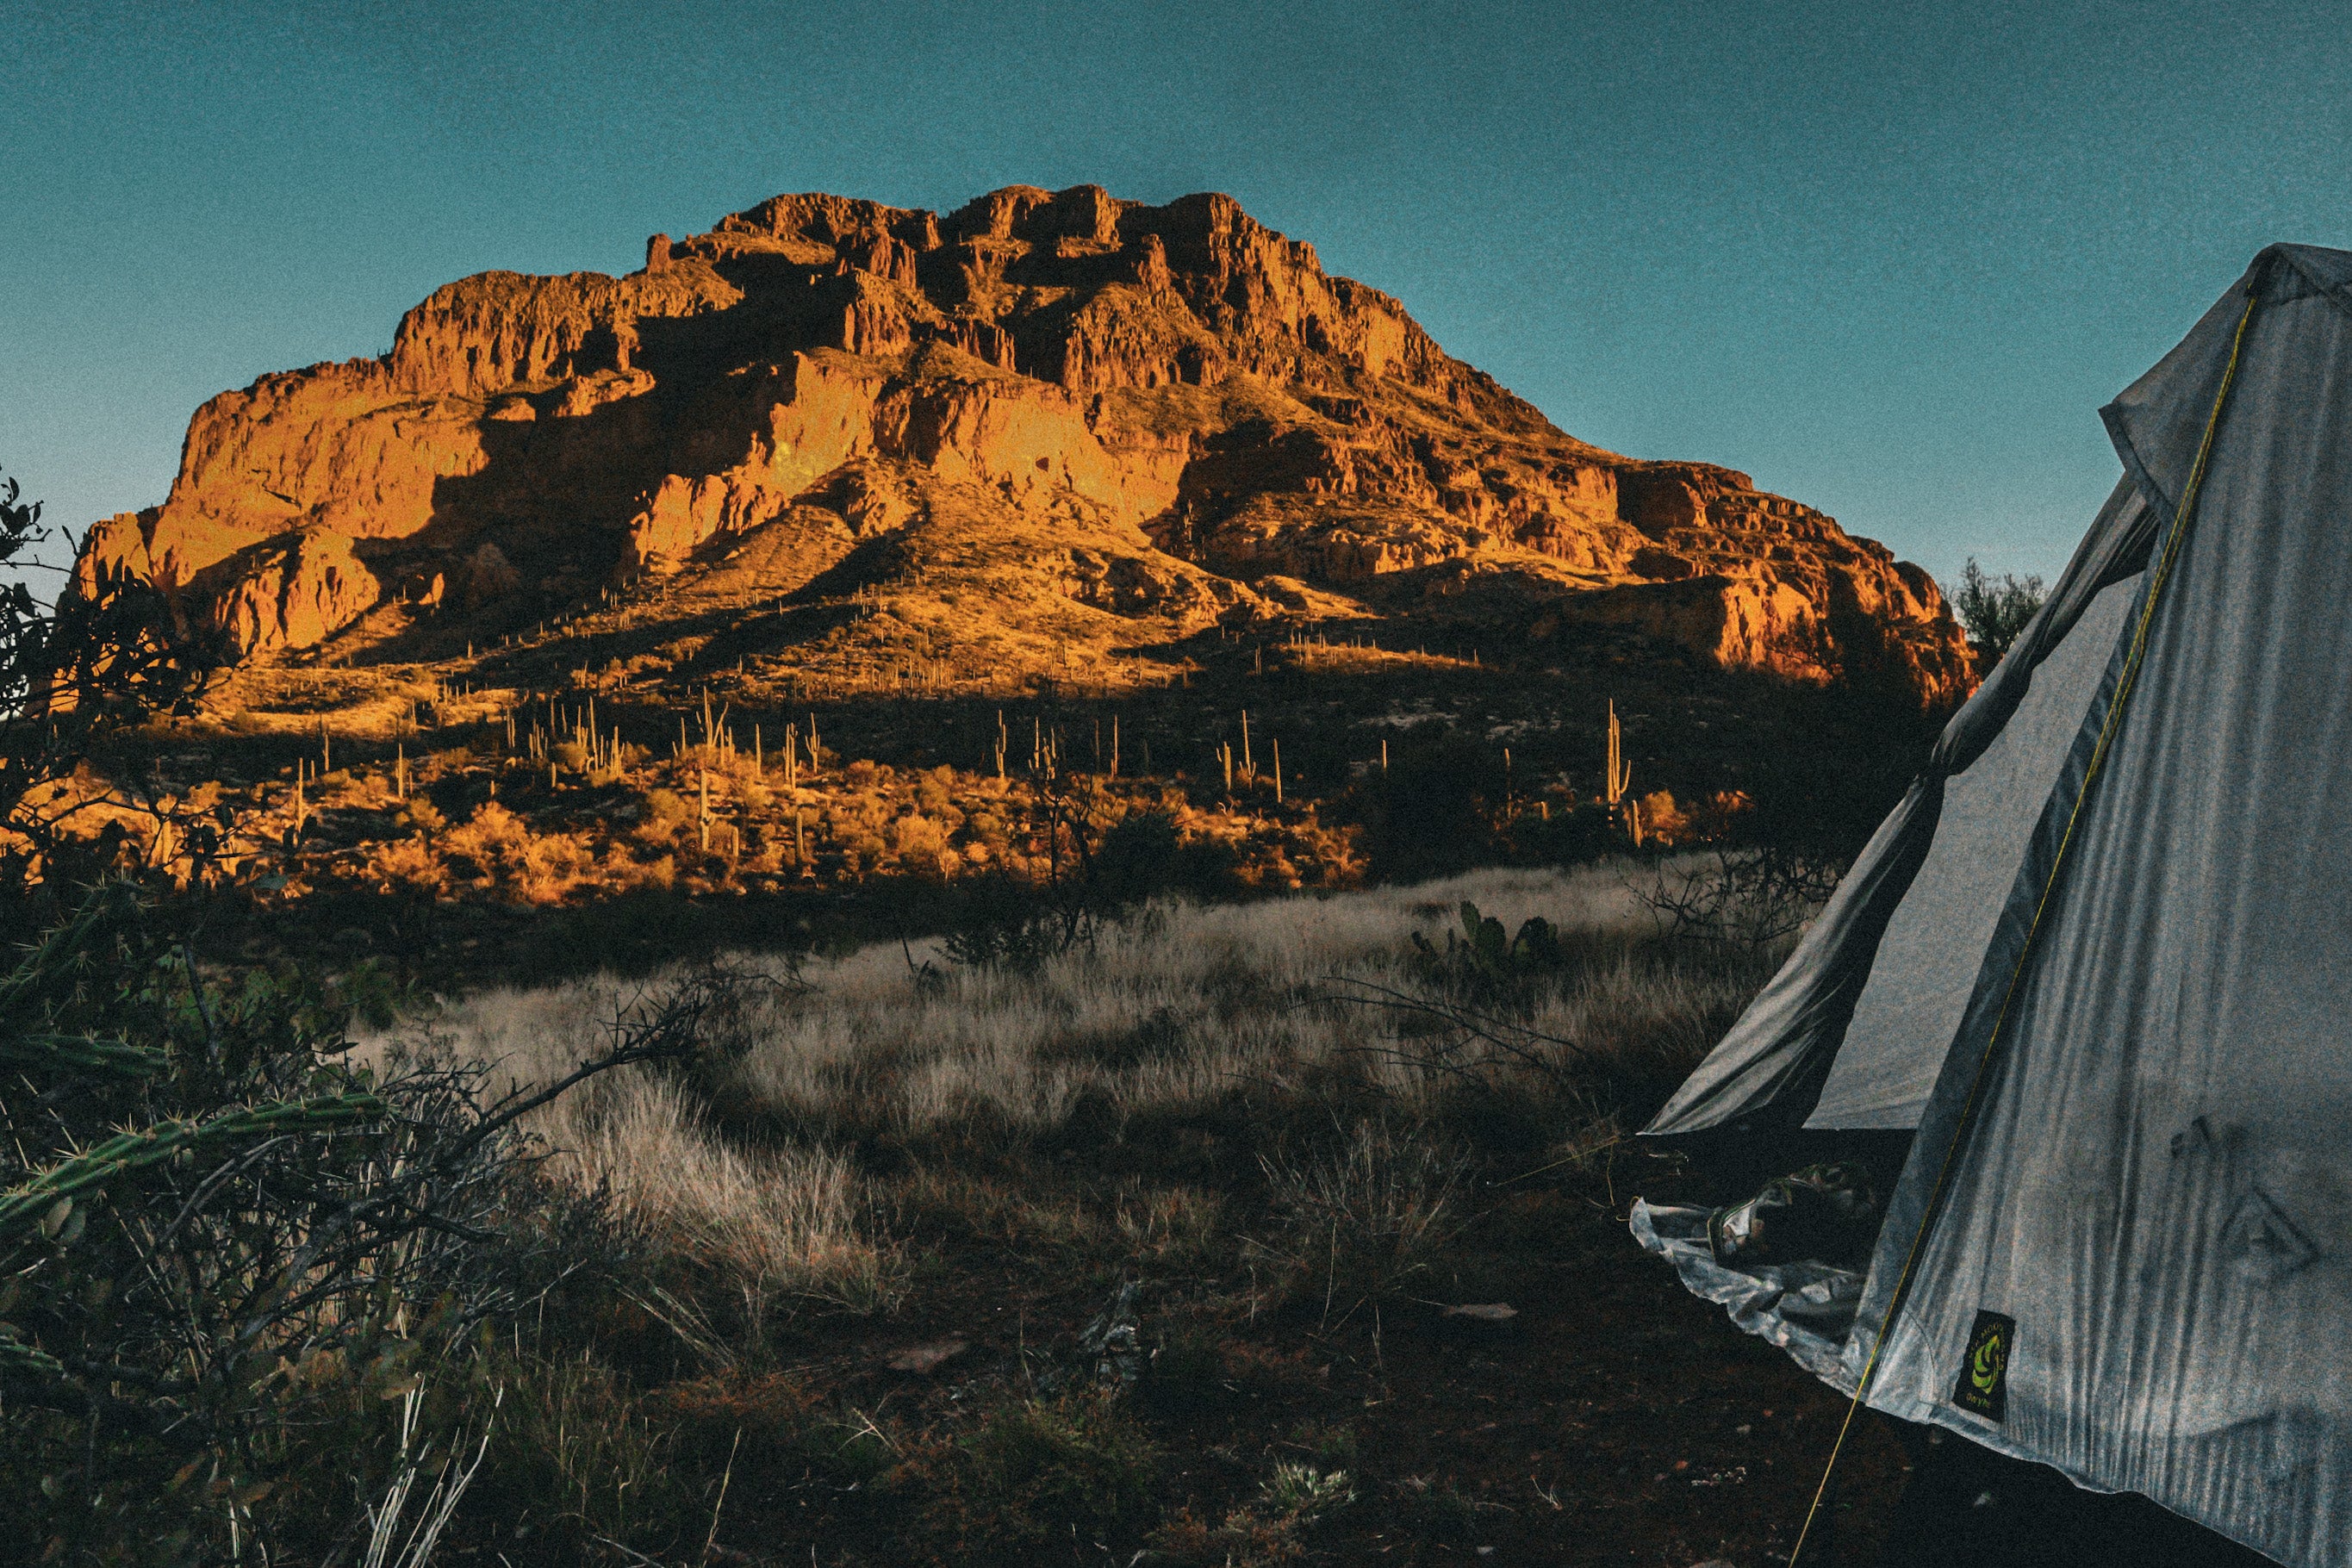
The Gatewood Cape bumps up against twin realities. On one hand, it’s by far the most robust poncho-tarp on the market in my opinion. The Gatewood is a pyramid, offering 360-degree rain protection. While other poncho-tarps have a justifiable reputation as “emergency-only” gear, the Gatewood’s coverage is sufficient to serve as a day-to-day shelter. I’ve ridden out all sorts of nasty storms in my Gatewood Cape. The most notable was a severe thunderstorm on the windswept Tonto layer in the Grand Canyon. With a low, storm-mode pitch and a couple of special bracing techniques (more on those later), my Gatewood withstood the full fury of the storm, complete with heavy rain, hail, and winds that toppled a nearby cactus.
On the other hand, it’s still a poncho-tarp. All gear design involves trade-offs (never succumb to “no-compromises” marketing claptrap!). The question is whether those trade-offs are worth it. There’s still no better way to adjudicate these compromises than with a good old-fashioned list of pros and cons:
Pros:
- Even in the era of space-age materials, eleven ounces for shelter and raingear is unheard of. There are certain frontiers that can only be approached via multi-use items, e.g. a poncho-tarp.
- A poncho-tarp packs down into a tiny package. More room for those long food and water carries!
- A poncho-tarp reduces the number of items in your pack and promotes simplicity. When the need for shelter or raingear is an exception, rather than the rule, it makes sense to keep those items barebones.
Cons:
- Transitioning between shelter-mode and poncho-mode can be annoying in foul weather. It’s impossible to wear your raingear and pitch your tarp at the same time, so there’s no avoiding getting at least a little damp.
- Tarps require a lot of material, raingear requires much less. Even the most innovative design can’t prevent the raingear from feeling baggy, and the shelter from feeling a bit cramped.
- The same kind of fabric has to do double-duty. Typical shelter materials like silnylon work as raingear, but aren’t ideal. Typical raingear fabric would be unacceptably heavy if sewn as a shelter.
Do the pros of poncho-tarps outweigh the cons? That depends on your intended use case. If rains are infrequent and short-lived, poncho-tarps shine. In wetter climes, their drawbacks are more pronounced. That’s not to say that you shouldn’t use a poncho-tarp on rainy trips, but the limitations might outweigh the weight savings.
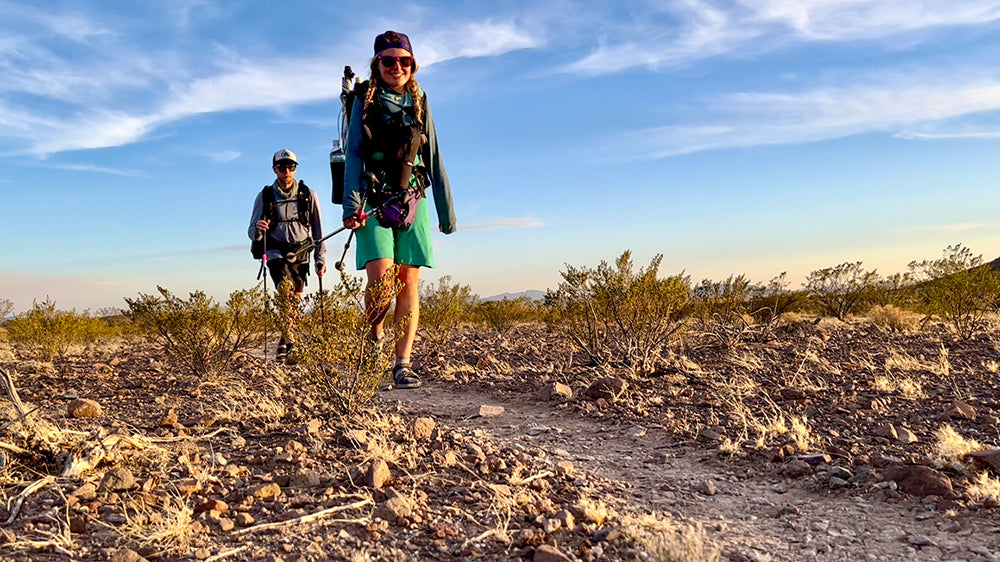
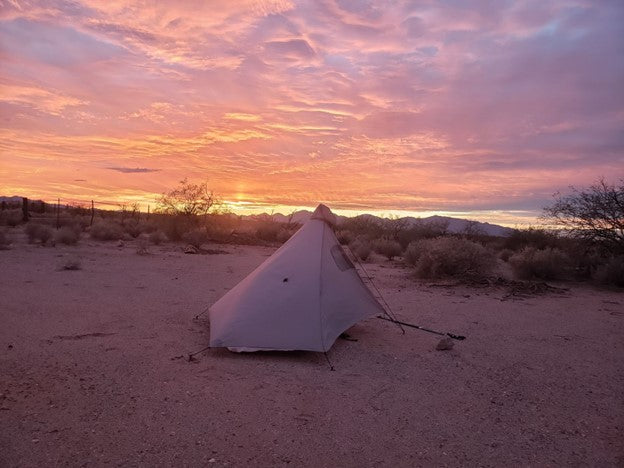
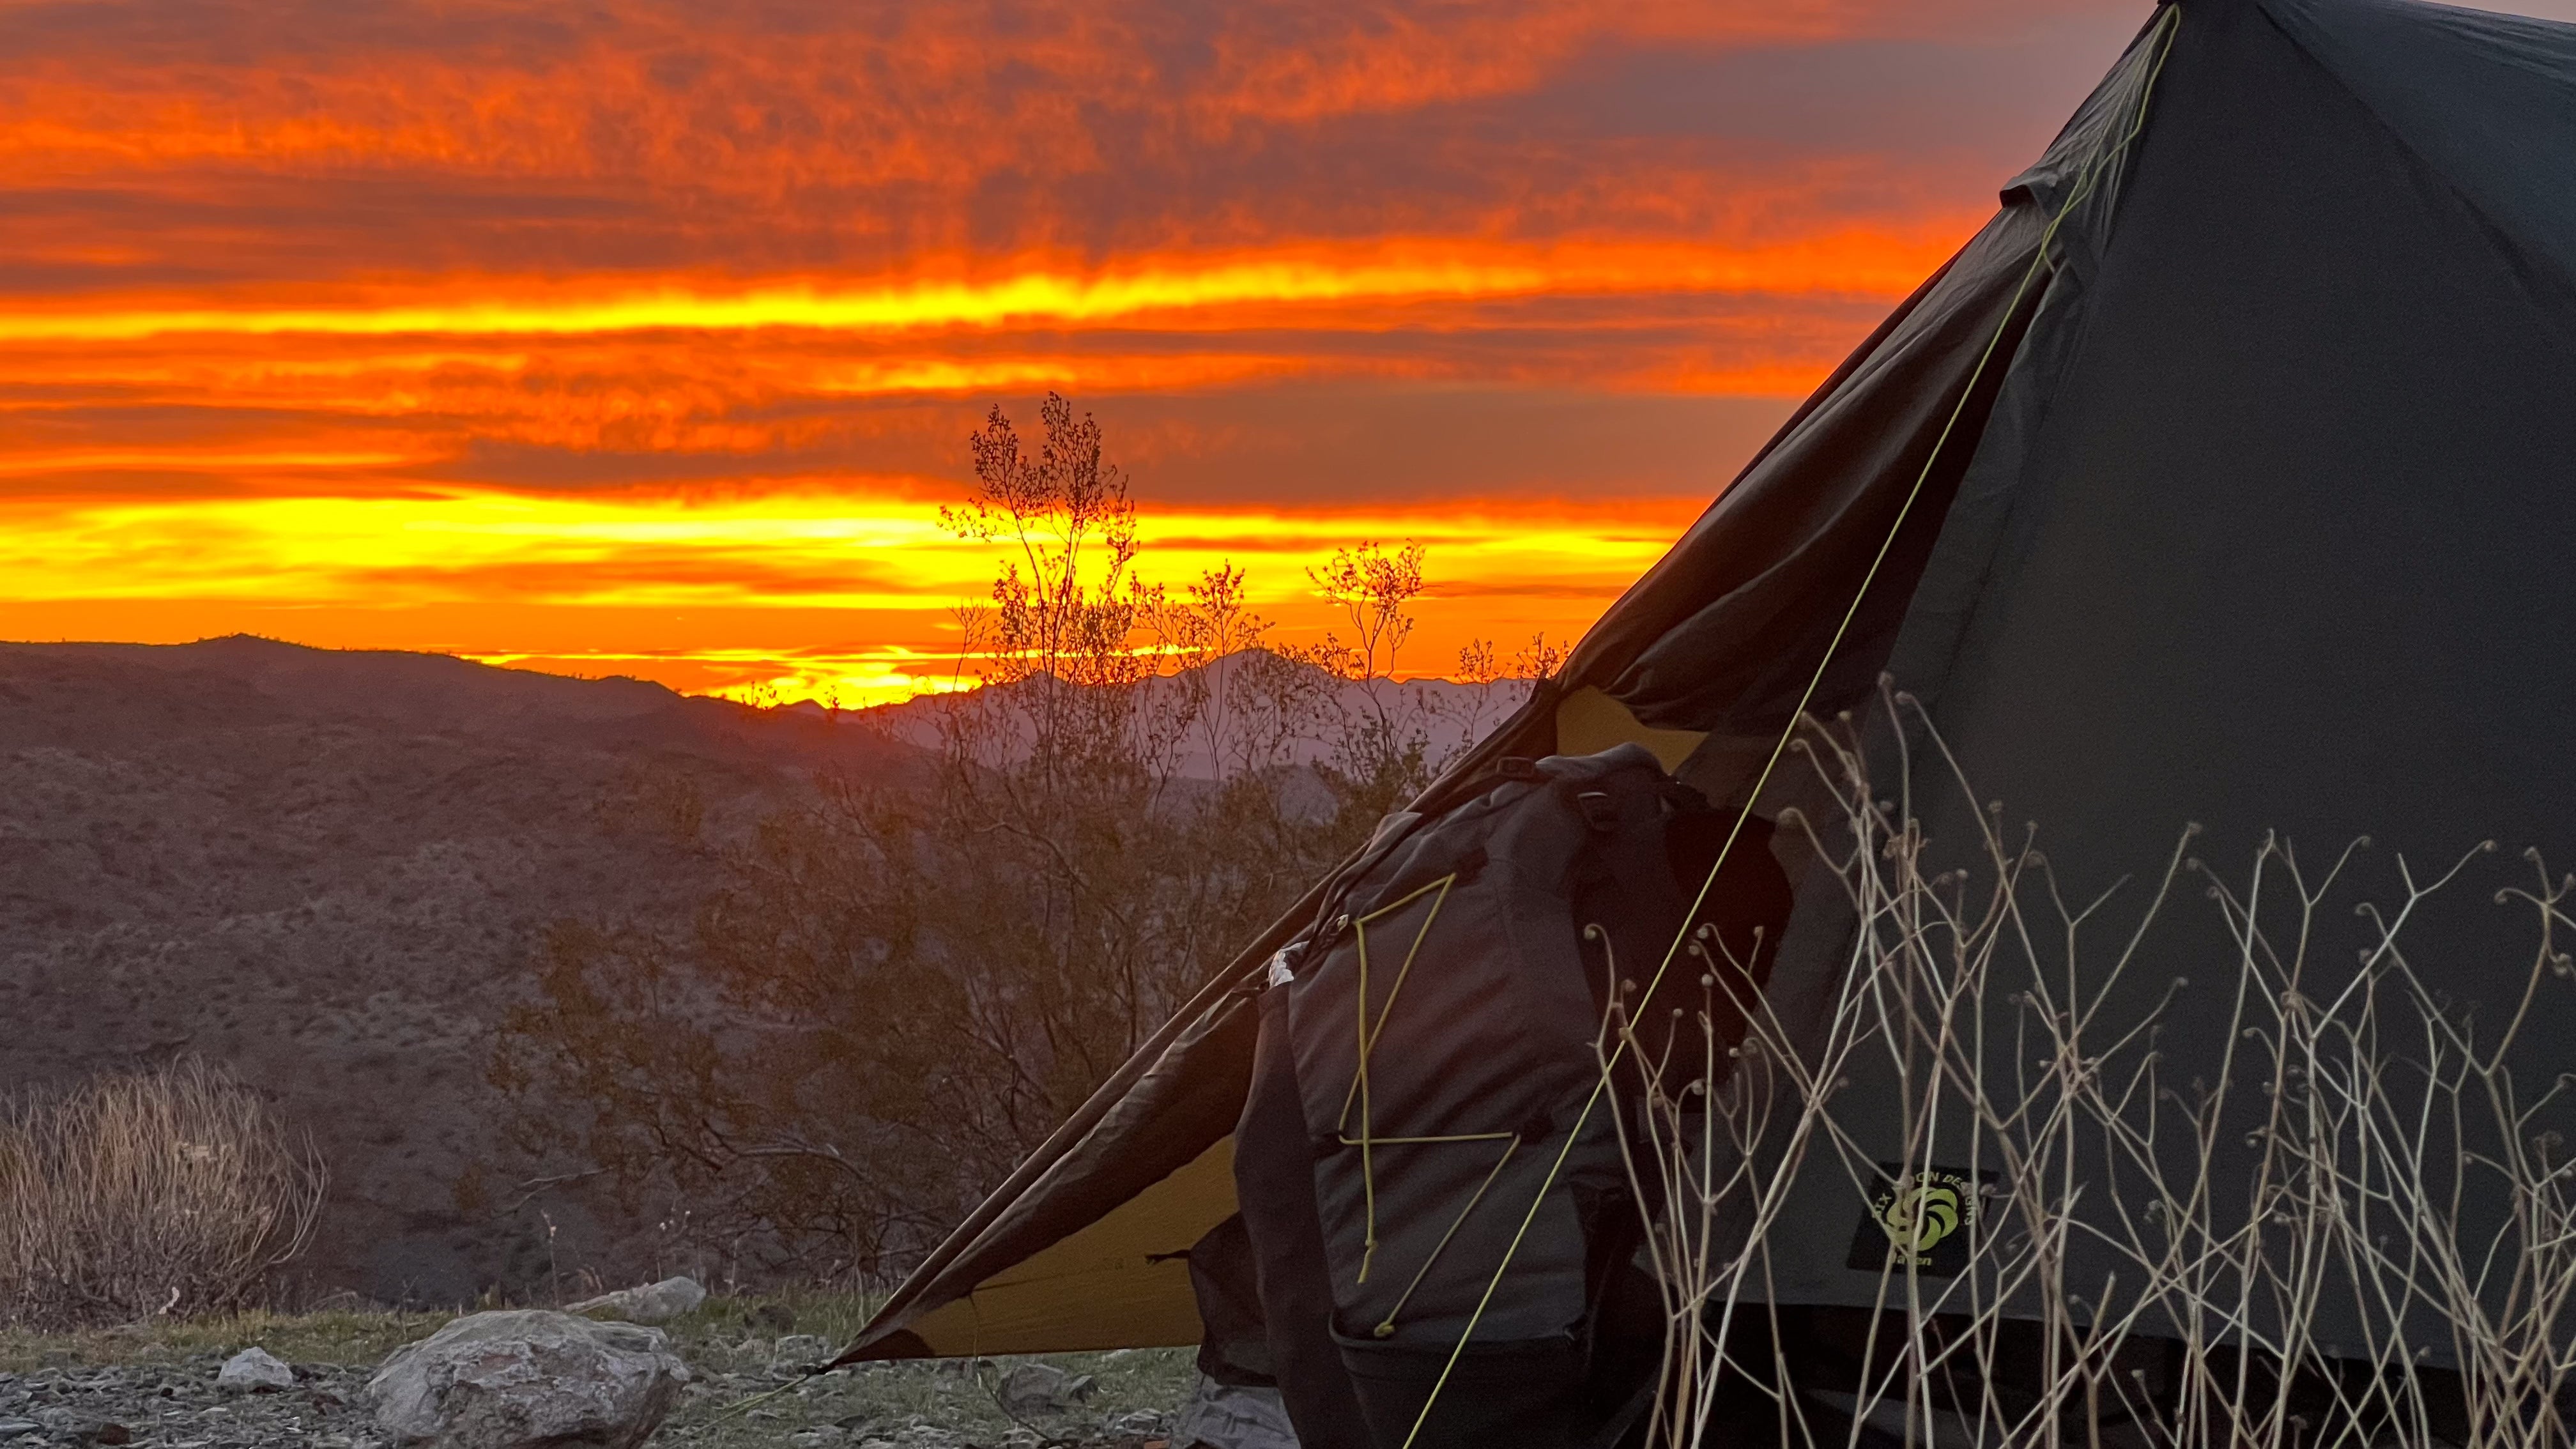
Let’s get specific. Where would I bring my Gatewood Cape? The most obvious answer is the desert. Indeed, I’ve used the Gatewood for over a decade on most major long-distance trails in the deserts of the southwest United States. But I also use it surprisingly often in wetter environments - on shorter trips where the forecast isn’t horrendous, or where I can sneak underneath a roof once in a while (e.g. Appalachian Trail or Ouachita Trail shelters). All told, I’ve logged the better part of 10,000 miles with the Gatewood Cape over the years.
Where would I not bring my Gatewood Cape? In particularly rainy environments, a poncho-tarp is not the best choice. You won’t find me backpacking Kerguelen, Scotland, or a temperate rainforest with my Gatewood Cape. A poncho-tarp is also a poor choice on a route with frequent bushwhacking. A poncho tends to snag on passing branches, and if you rip it, you’ve ripped your shelter too.
This guide is not meant as a comprehensive overview of all the Gatewood’s features, nor is it a product review per se. Instead, we’ll discuss specific tips and techniques for getting the most out of your Gatewood Cape. It’s a remarkably versatile tool, but one that requires a bit of practice and know-how in order to use it to its full potential.
As a Shelter
The Gatewood Cape is a simple pyramid tarp. It pitches with a minimum of six stakes (I recommend eight; see below), and has a door on the beak-wall. That entire wall can be unzipped and rolled back for excellent stargazing and a nice outdoorsy feeling on pleasant nights. On stormy nights, the Gatewood can be pitched low to the ground for maximum protection. When possible, I pitch at a 30-degree angle to the wind, to keep the wind from buffeting the long back wall too much. In a north wind for example, I pitch the Cape with the head pointed NNE and the beak pointed ESE.
The Correct Pitch
When I first bought my Cape, I spent an entire afternoon experimenting with different pitching techniques - which stakes to place first, how much slack to give them, what pole height was appropriate, etc. While SMD’s pitching instructions are helpful, there’s no substitute for real-world experience wrangling this funky-shaped piece of fabric.
Five of the Gatewood’s six corners come with tie-outs knotted at regular intervals. I use the longest tie-outs on nice nights to achieve a high pitch (maximal airflow, minimal condensation), and the shortest tie-outs on rainy nights for more weather protection. In especially torrential storms, I find that even the shortest set of knots results in a too-high pitch. I therefore pre-tie a shorter set of knots about an inch from the corner itself to allow for a low, storm-mode pitch. I keep them permanently tied so I don’t have to worry about fiddling with them with a storm looming, daylight fading, and cold, numb fingers.

Before and After
It is also possible to replace the factory-installed tie-outs with new cordage and line-locks. This provides an additional degree of flexibility when staking in rocky terrain. If you choose to do this, keep two things in mind: First, you’ll want to clip those lines into the integrated snaps when using the Cape in poncho-mode, so make sure your design is compatible (e.g. not too long). Second, line-locks tend to wiggle loose when tugged by wind. Since the Gatewood is made of silnylon, you’ll already have to do some re-tensioning (silnylon tends to stretch when cold and wet), but perhaps a bit more when using line-locks.
Finally, replace your trekking pole tips! When setting up the Gatewood Cape, the trekking pole handle sits on the ground and the tip fits into a grommet in the harness. If your trekking pole loses its tip (which happens to me every ~2,000 miles depending on terrain), it won’t stay seated in the grommet, and your shelter won’t stay upright! When using the Gatewood in the context of a long-distance hike, I preemptively replace my pole tips before they bite the dust..
Additional Tie-Outs
In fair conditions, the six corner tie-outs provide plenty of tension to maintain a taut pitch, especially when pitched at maximum height. However, things start to feel much more cramped when pitched low (“storm-mode”) or in high winds. Winds are in fact the nemesis of the long back wall of the Gatewood. It’s a span of about nine feet, held in place by tension solely from the stakes and pole. The mid-panel guy-out points above the head and foot of the tarp reduce flapping in the wind, and increase the usable interior room.
These mid-panel guy-outs augment the stormworthiness of the Gatewood for two reasons. First, they add a pair of support points on that long back wall. Second, they reduce stress on the stakes holding the tarp in place. Each stake must only shoulder an eighth of the wind load, rather than a sixth. In my view, these guy-outs are almost mandatory when the weather turns foul.
If permanently affixed, these guy lines will also drag on the ground, get caught on bushes, and drive you crazy. I therefore recommend attaching the guylines using either tiny carabiners, or easily-removable knots (something on-a-bight works well). You don’t want to fiddle with gunked-up knots when rain is falling in sheets and you’re trying to don the poncho.

Bracing the Back Wall
Remember that big long back wall? We’ve shortened the unsupported span already by using the mid-panel guy lines, but we can improve things even more. I often use my second trekking pole to support the back wall. Extended to its maximal length, the tip nests in the harness at the top of the cape (there’s a convenient D-ring that dangles down). The handle sits on the ground next to the back-wall stake. The pole braces the wall perfectly, cutting that nine-foot tensioned span into two four-and-a-half foot spans. A little landscaping to create a divot for the handle helps hold everything in place.
By the same token, an ice axe or collapsed trekking pole can serve as an interior support. When using an ice axe, I drive the spike into the ground several inches, and cover the pick and adze with a pair of socks to keep them from damaging the Cape.
Choosing the Right Stakes
Years ago, during my “ultralight zealot” phase, I bought a set of titanium shepherd’s hook stakes. They weighed tiny fractions of an ounce and lent some sparkle to my gear list. There was just one problem - they were inappropriate for the conditions I might face.
I learned my lesson the hard way in a 15-hour storm at 11,400’, far above treeline in the High Uintas Wilderness. Even though I’d pitched my shelter in storm-mode, those skinny little shepherd’s hooks were insufficient to withstand the gusts that were pummeling my shelter. Desperate to keep them in the ground, I staked and re-staked my shelter multiple times through the night, to no avail. Finally,I crawled into my buddy’s tent, chastened. I’d never make that mistake again!
Or would I? A decade later, a wicked atmospheric river event swept across the Mojave desert. A thunderstorm downburst slammed into my shelter, ripping up all of my stakes (5.75” Y-stakes) in an instant. Rain poured down on my gear as I sprinted across the desert, trying to retrieve my runaway tarp.
Learn from my mistakes! The weakest link of a Gatewood Cape setup isn’t the design or the materials, but the holding power of the stakes. I’ve started carrying a mixture of 5.75” and 7.5” stakes. I use the larger stakes for the windward corners, and the smaller ones elsewhere. In loose ground (think: sandy desert soils), a full set of 7.5” stakes, or even longer, may be appropriate.
Not all stakes bear an equal load, of course. I find that the beak’s stake often shoulders a disproportionate share of the load. Even if you go with minimalist stakes for the other guy-outs, I do recommend a beefier stake for the beak. It’s the one responsible for holding firm when tension is applied to the beak’s guy-line, and often gets jostled when entering or exiting the shelter.
Complementary Pieces
The Gatewood Cape is a tarp, pure and simple. Though it’s possible to lay your sleeping pad directly on the ground, I often prefer to use a floor to save wear and tear on my gear. In order of ascending fanciness and weight:
- A simple scrap of Tyvek or polycro works well in dry climates. I carry just the Gatewood Cape and a piece of Tyvek in the desert.
- A bivy is appropriate in more alpine areas - the famous tarp-and-bivy combo. An ultralight bivy boosts weather protection, particularly from wind-driven rain and snow. I’ve ridden out more than my fair share of storms with this combination.
- The Serenity NetTent shines when rain is infrequent but bugs are ubiquitous (think Northern California or Oregon on the PCT). The Serenity is designed to be paired with the Gatewood Cape and offers full bug protection and a bathtub floor. It can be set up alone (on clear nights) or with the Gatewood (when weather threatens). As a bonus, keeping the Serenity clipped to the Gatewood Cape makes it far easier to achieve the perfect pitch!

As Raingear
Poncho-tarps face an inherent tension: if too small, they’ll offer inadequate protection in shelter-mode. If too large, they’re excessively baggy in poncho-mode. Manufacturers therefore try to build something in the goldilocks zone, which is complicated by the fact that people come in all sorts of sizes! At 5’7”, I’m fairly comfortable even when pitching the shelter right on the ground. On the flip side, I deal with a lot of excess material in poncho-mode. Someone eight inches taller might have an opposite experience.
Gathering up Excess Material
Ultimately though, everybody will have to deal with some excess material when wearing the Gatewood in poncho-mode. The Cape is equipped with a pair of interior snaps at thigh-level. These snaps are a crucial design feature. They allow you to gather up the excess material by snapping the corner tie-outs.
There are a million different ways to snap up the corners. The best technique will depend on your height and build, as well as the brush-snag hazard present along the trail. To be honest, I do it a little differently each time, constantly tinkering to try and achieve an optimal set-up. I sometimes even use the beak’s mini-carabiner to clip the beak to the rear tie-out between my legs. Though this method does restrict movement a bit (good luck stepping over a tall blowdown), it also keeps the hatches battened down in high winds.
Planning & Practice
Ever try donning a poncho while wearing a pack? It’s not too tough to get the poncho on your body, but to fully cover your backpack too can be a struggle. Every 5 mph of windspeed seemingly doubles the challenge. Wrestling with a recalcitrant poncho has to be one of my least favorite aspects of backpacking.
Over the years though, I’ve become much more adept at this process. I face upwind, and let the material flap above my head and behind me until pulling it down over my head in one smooth motion. The degree of difficulty multiplies if I’m carrying a particularly voluminous pack, an external sleeping pad, or a bear canister. In such cases, I sometimes don the Cape first, and then shimmy the backpack onto my back underneath the poncho. YMMV.
I could spill hundreds of words on this subject, but they’d really only be applicable to my body type and the size/construction of my pack. I strongly recommend spending a windy afternoon practicing in the backyard, putting on the Gatewood, taking it off, transitioning from shelter-mode to poncho-mode and back again. In short, get intimately familiar with your gear in adverse conditions, so that your movements are smooth and practiced when you get out in the field.
I furthermore recommend a little forethought out on the trail. If you suspect it’s going to rain today, unclip the harness from the Cape when breaking camp, so you’re ready to put on the poncho at a moment’s notice without fiddling with the clips. Similarly, if you’re racing an impending rainstorm to camp, transition back to shelter-mode ahead of time so you can set up the tarp and dash inside at a moment’s notice.

Cords and Tie-outs
The Gatewood’s harness is designed to be removable when using the Cape in poncho-mode. I sometimes tie the harness as a belt overtop my Gatewood Cape to further minimize the chances of snagging myself on passing vegetation. The same thing applies to the mid-panel guy-outs. As previously mentioned, I have them tied on-a-bight so they’re easily removable. If I need extra cordage to tie up excess materials, they do a convenient double-duty.
Above all, keep track of your stuff! I find that about 75% of my Gatewood Cape usage is in shelter-mode, and only 25% is in poncho-mode. And when transitioning to poncho-mode, it’s in the face of an impending rainstorm, so I’m scrambling to put it on and stay dry. When out-of-sorts like that, it’s terribly easy to misplace stakes or the harness.
As a System
As with tarp-mode, the Gatewood Cape’s weather-resilience in poncho-mode can be enhanced by a few accessories. In desert climates, I often bring a silver umbrella (e.g. Six Moon’s Silver Shadow Carbon). The umbrella and Gatewood Cape work together to shelter me from the rain far better than either would on its own. The umbrella keeps the bulk of the rain from falling on me, while the Gatewood guards against wind-driven rain, splashing, and general nastiness. Silnylon is quite thin and wets out fairly quickly; an umbrella solves this problem.
Furthermore, many ‘rainstorms’ in the desert are brief and light enough that the Gatewood Cape isn’t even necessary. An umbrella and an ultra-thin windshirt are plenty to repel the worst of the moisture, without having to bother transitioning to poncho-mode.
The question arises though: is it worth carrying the Gatewood Cape, a silver umbrella, and a windshirt? Is it any lighter than just toting a dedicated shelter and raingear?
Well, yes. Even lightweight raingear is heavy stuff. But even if the weight savings are insignificant, there’s a broader reason why I turn to my Gatewood set-up - it keeps me more comfortable than would a traditional shelter and raingear. The desert wind can be harsh in the cooler months, requiring some sort of wind protection. But a rain jacket doesn’t breathe well enough to really suffice. A windshirt is the better choice. Harsh too is the desert sun. When the UV beats down, there’s nothing better than an umbrella’s portable shade. The Gatewood works as part of a gear-system, optimized for the conditions I can reasonably expect to face.

Other Uses
A poncho-tarp is perhaps the most versatile piece of gear out there, with the possible exception of a bandana. In addition to its roles as shelter and raingear, the Gatewood serves as a perfect pillow when sleeping under the stars. I sometimes stick an extra fleece inside the Cape to add a little bonus cushion.
Finally, don’t underestimate the power of the Gatewood as insulation! Yes, really. It’s well-known that setting up a shelter keeps you a couple degrees warmer than cowboy camping does. But assuming no dew, it’s far more efficient to burrito yourself in the shelter first, then hop in your sleeping bag and cowboy. The feeling of sleeping rolled up in a tarp is admittedly a little ‘swishy’, but it gets the job done on frigid nights.
Closing Thoughts
Why bother with all this? Shouldn’t gear just work without installing extra guy-lines, covering your ice axe with stinky socks, or practicing deploying the Cape? Isn’t it just easier to follow the first path of ultralight, employing modern materials without bothering to grapple with the Dark Arts?
Perhaps. But space-age materials can only take us so far. And more importantly, learning the Dark Arts is crucial for our backpackering development. By learning to make-do with less, we improve our skills and become more comfortable outdoors. When things go bad - really bad - the lessons we’ve learned about thermoregulation, moisture management, campsite selection, and navigation begin to pay off. And here’s the thing: we can’t develop these skills - certainly not to the same extent - if we don’t practice them every day.
That’s the key. The Gatewood Cape requires a little practice to use effectively. So does any other ultralight gear. So does all backpacking gear. Whether we carry ten pounds or forty pounds, the most important gear can be found between our ears.



Leave a comment
This site is protected by hCaptcha and the hCaptcha Privacy Policy and Terms of Service apply.